Blog
How to Install Campervan Decals – 8 Simple DIY Steps

Introduction
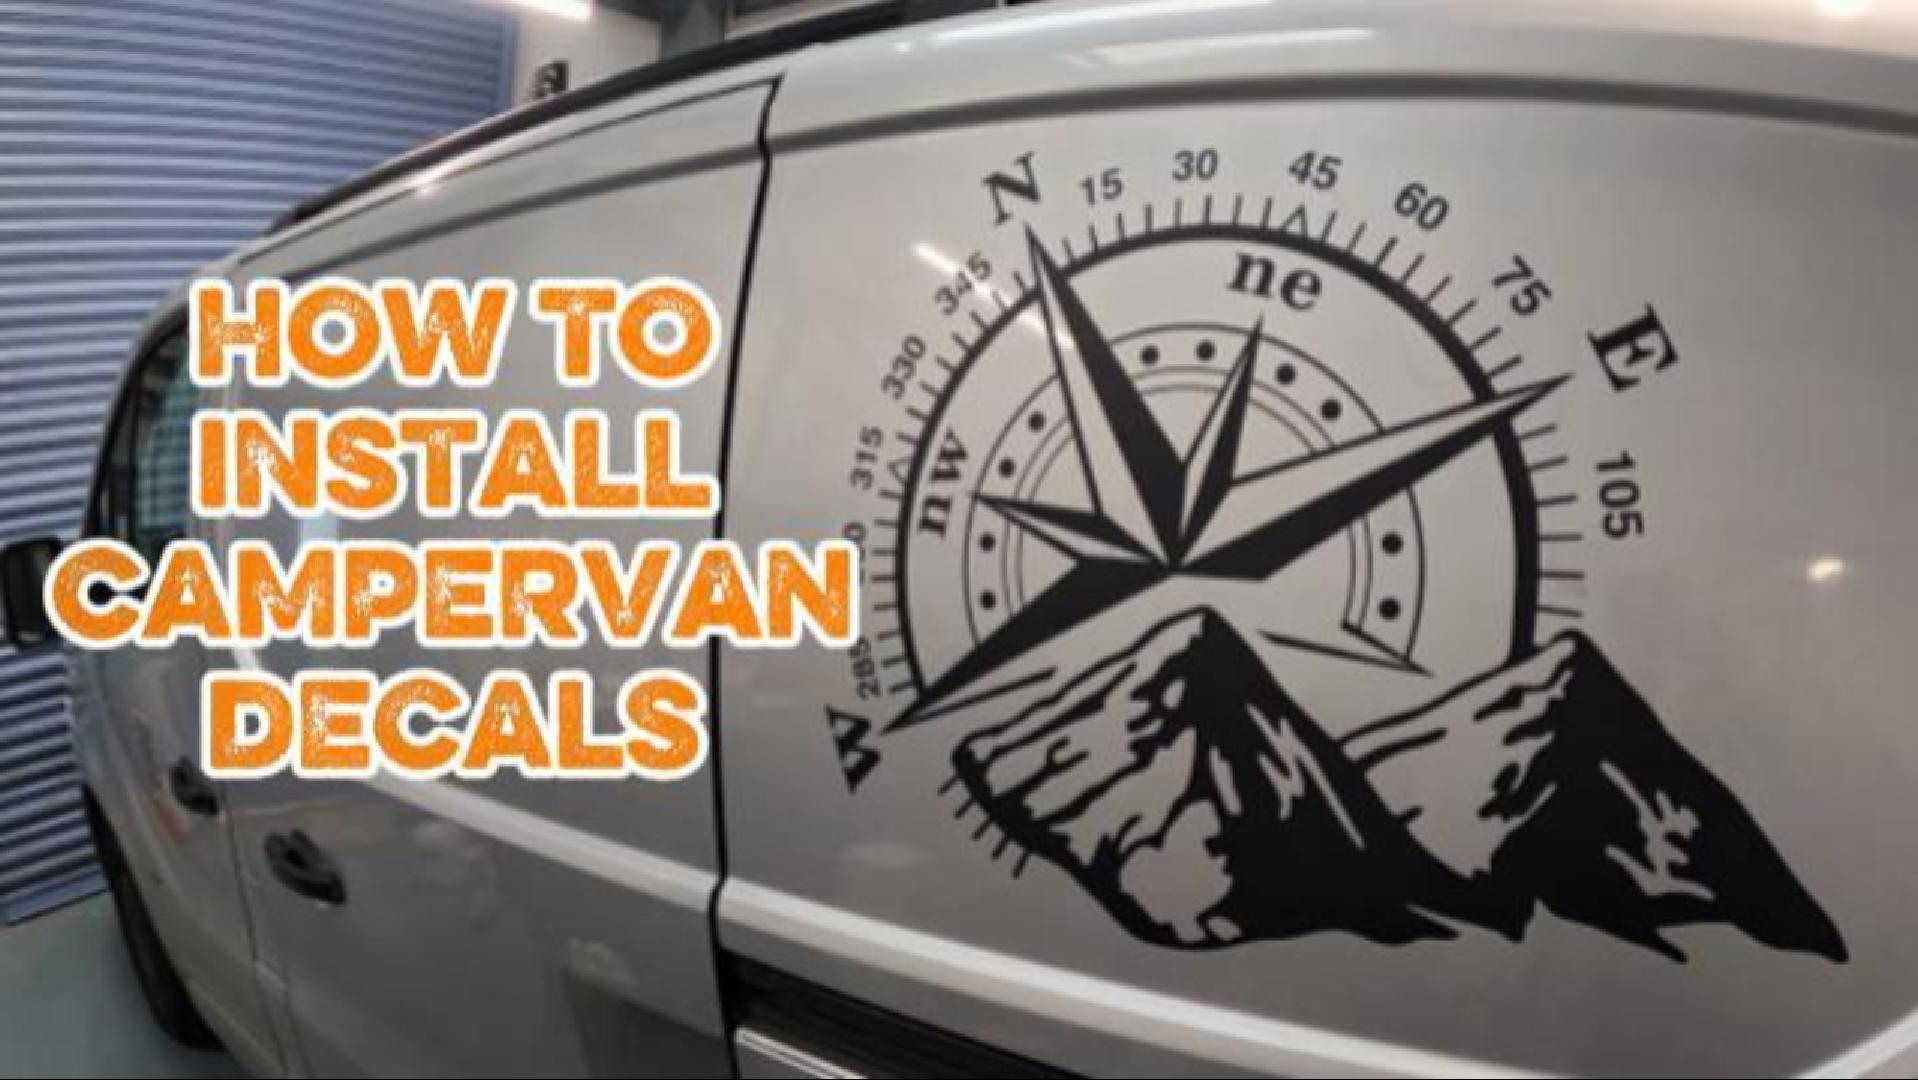
Want to give your campervan a fresh new look or promote your business while travelling? In this quick tutorial, we’ll show you how to install campervan decals like a pro — even if you’ve never applied vinyl before. Follow along to master the art of how to install campervan decals effectively.
Our latest video breaks the process down into 8 simple steps you can follow at home using basic tools. Watch the video below, then follow the written guide for a flawless finish every time.
🎥 Watch the video tutorial on YouTube
Before starting, it’s essential to understand the basics of how to install campervan decals properly to ensure the best results
🧽 Step 1: Clean the Surface Thoroughly
The most important step! Start by cleaning the application area using a surface cleaner or isopropyl alcohol.
Remove all dust, dirt, grease, and wax. Any contamination can prevent your decal from sticking properly.
💡 Tip: Always clean beyond the edges of where your decal will go.
📏 Step 2: Position the Decal with Masking Tape
Hold your decal in position on the van and secure it with masking tape along the edges.
Take your time here — check alignment from multiple angles to make sure it’s perfectly straight before applying.
🔖 Step 3: Create a Hinge with Masking Tape
Next, create a hinge using masking tape through the centre of the decal, either vertically or horizontally.
This hinge acts as a guide, allowing you to apply one half at a time for better control.
🤚 Step 4: Rub Down the Decal
Before peeling off any backing paper, firmly rub over the decal using a squeegee or a plastic card.
This helps the vinyl stick securely to the application tape and ensures a smooth transfer.
✂️ Step 5: Remove One Side of the Backing Paper
Peel back one side of the decal and carefully remove the backing paper, cutting it away cleanly.
Avoid touching the adhesive side or letting it come into contact with dust or debris.
🧰 Step 6: Apply the First Half of the Decal
Using your squeegee, apply the decal from the centre outward, overlapping each stroke slightly.
Work slowly and evenly to avoid trapping air bubbles.
Once you’ve finished, you’ll be proud to say you know how to install campervan decals effectively
🔁 Step 7: Repeat for the Other Half
Now, remove your masking tape hinge and repeat the process on the other side.
Continue working from the centre outwards, keeping pressure consistent with each stroke.
🧼 Step 8: Remove the Application Tape
Finally, peel off the application tape slowly from one corner, keeping it flat to the surface as you pull.
If you notice any small bubbles, gently push them out with a squeegee or prick them with a fine needle to release the air.
Now that you understand how to install campervan decals, enjoy showcasing your unique style.
🏕️ Ready to Personalise Your Campervan?
Congratulations — your new decals are installed!
Whether you’re upgrading your camper for adventures or adding business branding, these steps will help you achieve a clean, professional finish every time.
👉 Shop Campervan Decals Online
Explore a range of custom campervan graphics, stickers, and vinyl lettering available to order directly from our online shop.
🧠 Pro Tips from the Sign Maker Team
- Avoid applying decals in direct sunlight or on hot panels.
- Always work on a cool, dry surface.
- For larger decals, it’s easier with two people.
- If the vinyl feels stiff, warm it slightly with a heat gun to improve flexibility.
🎥 Watch the Full Tutorial
Check out the full video on YouTube to see each step in action:
👉 How to Install Campervan Decals – 8 Steps DIY Guide
🛑 Don’t forget to subscribe for more tutorials and behind-the-scenes content!
Follow us on social media for updates, design inspiration, and more from the Sign Maker team.
📈 SEO Keywords:
campervan decals, campervan graphics, how to install campervan decals, DIY van decals, vinyl decal installation, van graphics UK, sign maker decals, custom campervan stickers, how to apply vinyl decals, campervan vinyl wrap